Navigation
Install the app
How to install the app on iOS
Follow along with the video below to see how to install our site as a web app on your home screen.
Note: This feature may not be available in some browsers.
More options
Style variation
You are using an out of date browser. It may not display this or other websites correctly.
You should upgrade or use an alternative browser.
You should upgrade or use an alternative browser.
1967 Dodge A-100 Hot rod sort of rat rod build thread.
- Thread starter onanysunday
- Start date
- Thread starter
- #922
onanysunday
Well-known member
- May 7, 2021
- 3,829
- 3,493
- Thread starter
- #923
onanysunday
Well-known member
- May 7, 2021
- 3,829
- 3,493
- Thread starter
- #924
onanysunday
Well-known member
- May 7, 2021
- 3,829
- 3,493
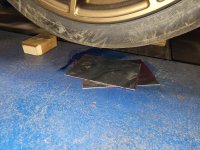
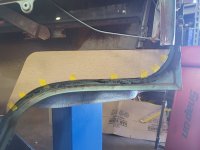
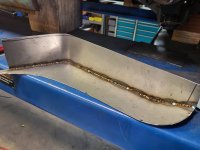
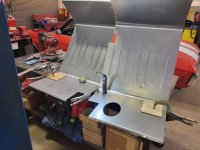
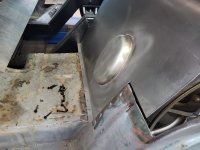
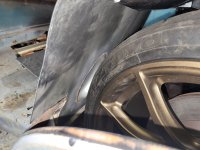
Little baby gurney bubble made from a cat water dish. Meow. Lol. Perfect size. I'm not sure how I'm going to dynamat and carpet over it but tire has clearance at full lock now. Braised it on at only 28 amps. Amazing how the steel, stainless, and bronze all flow together so nicely. And amazing how strong the joint is.


- Thread starter
- #925
onanysunday
Well-known member
- May 7, 2021
- 3,829
- 3,493
- Thread starter
- #926
onanysunday
Well-known member
- May 7, 2021
- 3,829
- 3,493
- Thread starter
- #927
onanysunday
Well-known member
- May 7, 2021
- 3,829
- 3,493
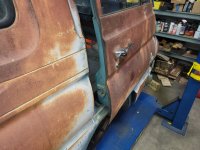
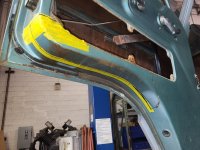
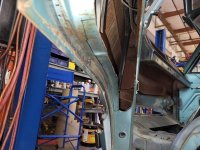
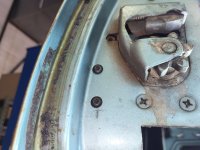
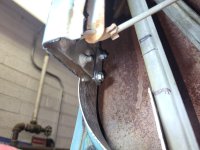
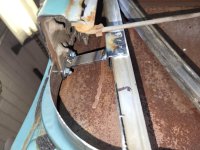
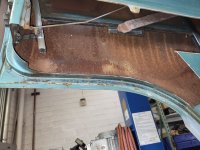
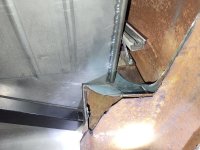
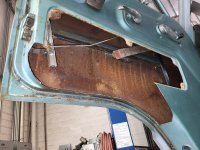
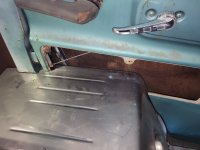
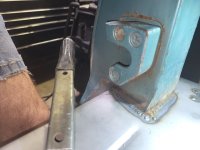
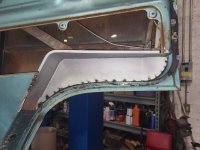
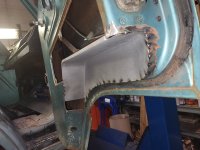
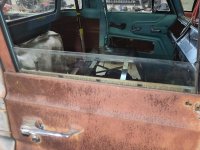
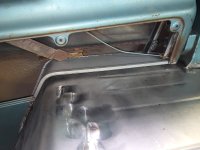
I did two separate cuts. The first cut was only 2 in which left the window channel in place. That allowed me to make my bracket and weld it in and then make a second cut to the final edge. It's cool that my door latch rod and lever do not have to be disturbed. I may have to cut a little bit more off the bottom of the window guide. Have to decide if I'm going to mig or tig all of this.
Richard h
Well-known member
- May 5, 2021
- 1,462
- 1,325
I did two separate cuts. The first cut was only 2 in which left the window channel in place. That allowed me to make my bracket and weld it in and then make a second cut to the final edge. It's cool that my door latch rod and lever do not have to be disturbed. I may have to cut a little bit more off the bottom of the window guide. Have to decide if I'm going to mig or tig all of this.
This should be fine. Imo.I'm going to mig
- Thread starter
- #929
onanysunday
Well-known member
- May 7, 2021
- 3,829
- 3,493
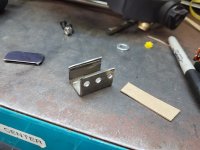
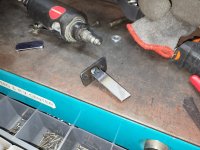
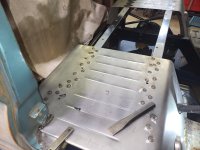
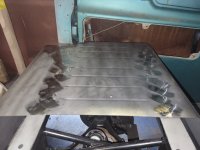
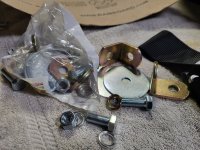
Not sure what possessed me to spend $50 on seat belt hardware knowing in the back of my head they weren't going to work. So my OCD kicked in today and I Bent up and welded up my own. Next step will be welding tabs on to the seat frame. I also need to weld in a triangular gusset at the end of that seat frame tying it to the sheet metal of the cab. The entire wheel well will be welded and give it strength as well. The seatbelt tabs I bought had 7/16 to bolt it to the floor and I'm going to do half inch grade 8.
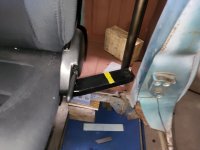
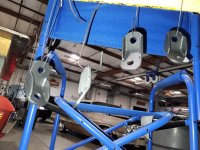


Last edited by a moderator:
- Thread starter
- #930
onanysunday
Well-known member
- May 7, 2021
- 3,829
- 3,493
- Thread starter
- #932
onanysunday
Well-known member
- May 7, 2021
- 3,829
- 3,493
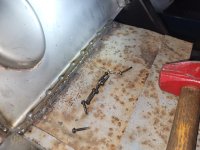
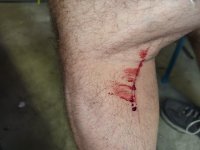
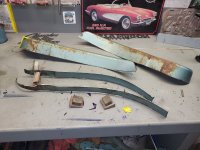
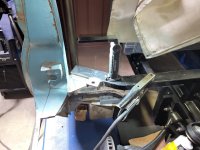
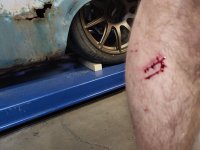
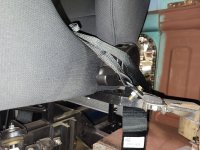
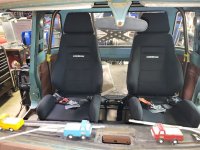
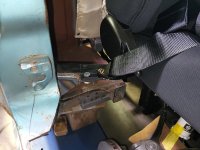
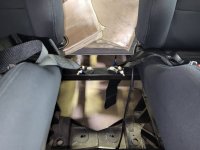
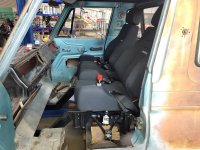
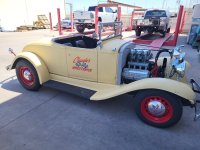
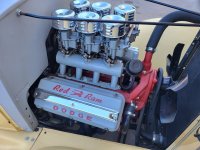
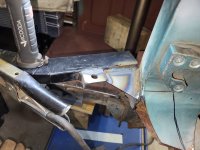
Bloody Saturday today. I got bloodied up twice on this damn thing. That's what I get for leaving a bunch of sharp edges and crawling around it like a jungle gym. But I win. Since I had nothing to attach to I had to run over top of the adjustment lever. No other way to do it. There is only about 10 in between those seats so the console will be narrow. I will probably have to raise it up in the air and leave a gap underneath for those seat belts. I do want my big hydro flask to fit because I carry that thing everywhere. even though the seat frame is 1/8-in wall 1x2 I will still make a plate probably at least 3/16 to go under those two Center half inch bolts. Then the bolt can't crush the box when tightening. Put some hours on this thing this week. Been getting up at 4:30 and 5:00 a.m. and coming in at the crack of dawn. Pretty motivated right now. I do have a wedding week after this week in Cali for 4 days. Probably need the break. Time for a car show this evening with some tacos and cold Sols.
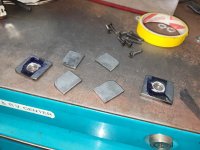
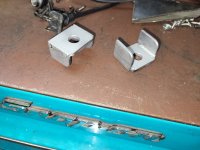


Last edited by a moderator:
- Thread starter
- #933
onanysunday
Well-known member
- May 7, 2021
- 3,829
- 3,493
Still thinking about my next build after this truck. Wife really likes the Metropolitan Nash. Sat in a custom one last night and my head was 1" from the roof. Just sent these guys an email on this frame setup. This would be the way to build one. LS with a 4l60 trans. Even a little 4.8 with a mild cam. My guess would be pushing 100k in parts not including labor. https://www.autoweldchassis.com/installations-and-instructions/nash-metropolitan-build/
- Thread starter
- #934
onanysunday
Well-known member
- May 7, 2021
- 3,829
- 3,493
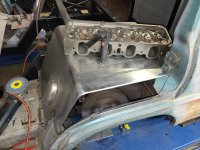
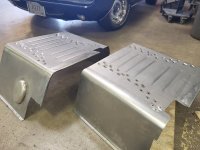
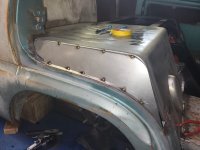
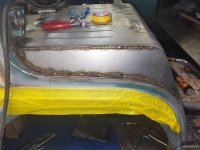
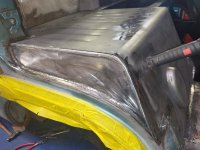
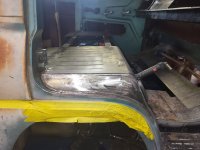
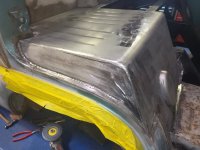
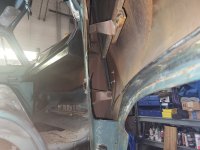
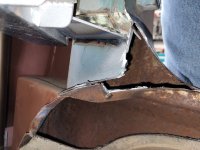
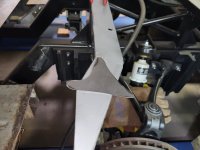
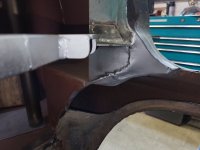
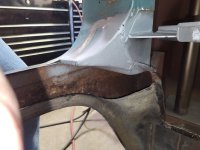
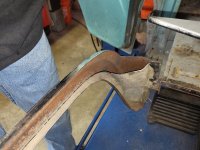
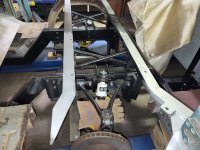
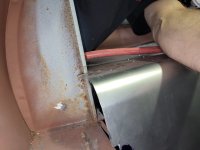
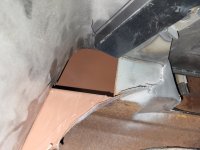
Boxing some of this stuff in underneath is all hidden so it doesn't have to be pretty. I'm not going to box all of it. Maybe just put some gusset pieces in once I tie it all together. That back corner little section is going to be tricky because I can't get all the way up in the corner to weld it top or bottom. Might have to just get it close and then you seam sealer. This whole front area is going to be super stout. Inching my way closer to welding these panels in solid. I called that chassis place this morning for the Nash Metro frame. They built one of those and he still has all the drawings and can build another one. Full rolling chassis including axles hubs front rack and everything is 16k which is a lot cheaper than I thought. That is a 305 horse GM motor out of a Cadillac and a 6l80 auto trans. Sounds perfect for my wife. With that much trans I would probably put 411 gears in it so it had tons of low end grunt. Getting pretty excited about maybe building one of those cars down the road.


Last edited by a moderator:
- Thread starter
- #935
onanysunday
Well-known member
- May 7, 2021
- 3,829
- 3,493
- Thread starter
- #936
onanysunday
Well-known member
- May 7, 2021
- 3,829
- 3,493
- Thread starter
- #937
onanysunday
Well-known member
- May 7, 2021
- 3,829
- 3,493
- Thread starter
- #938
onanysunday
Well-known member
- May 7, 2021
- 3,829
- 3,493
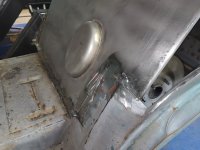
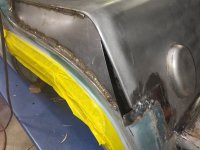
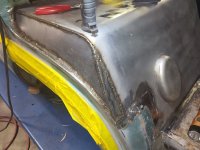
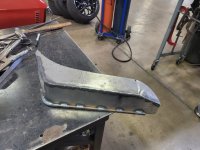
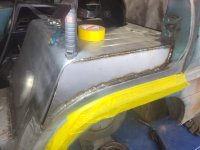
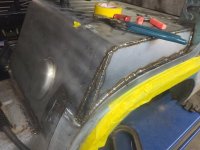
Killed it today. I was in the shop working by 5:40 this morning. Funny how some days you're beat up and tired and you end up getting a lot done. On that little triangular piece because it's a sideways weld the machine is turned way down so it doesn't burn through. Number one setting on the machine. That tends to glob the welds up on top of the metal versus burning in. Just a little more grinding.


- Thread starter
- #939
onanysunday
Well-known member
- May 7, 2021
- 3,829
- 3,493
- Thread starter
- #940
onanysunday
Well-known member
- May 7, 2021
- 3,829
- 3,493

