- Thread starter
- #501
onanysunday
Well-known member
- May 7, 2021
- 3,829
- 3,494
Follow along with the video below to see how to install our site as a web app on your home screen.
Note: This feature may not be available in some browsers.
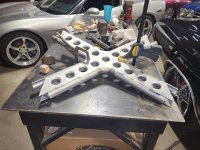
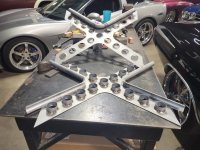
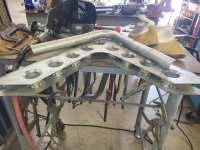
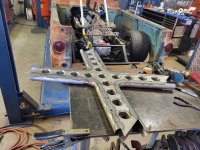
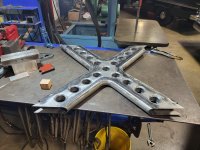
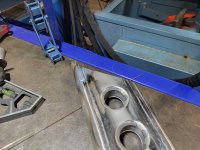
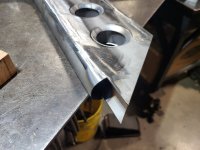
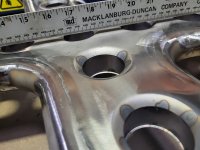
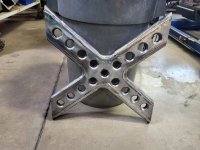
Thanks. The 17 tubes will get spotted from the back side with the MIG. Then I will smear some body filler inside each one and smooth it out with sandpaper. Rest of the piece will be sanded and smoothed with body filler. I am liking it. It will be at least a week to build this piece the right way this time.Wow, that is a heck of a lot of work for a decorative piece. Keep after it, I'm looking forward to seeing how it plays out.
Make that sound like an easy task. Nothing to it! Glad I was in management.Rest of the piece will be sanded and smoothed with body filler.
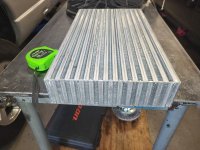
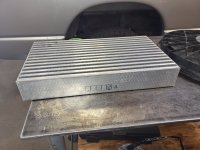
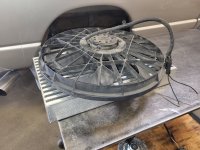
That is interesting. So I'm wondering if you are in and out of the throttle that fan is kicking off and on even at the 2 lb of boost setting. That intercooler will start to heat soak and you would want that fan staying on.do a boost actuated switch, on/off at whatever magic # makes sense
https://www.summitracing.com/parts/sno-81014?seid=srese1&gclid=Cj0KCQjw06-oBhC6ARIsAGuzdw2q8Al5jLjKCgtbZ_YcCgWx_3dxa2KTQMLvGgMjMc6OFhSA9QU-XjcaAqWXEALw_wcB
This truck has some special features. 750 CFM Edelbrock Carbs, C6 Automatic Transmission, 460 V-8 Engine, Basset Boat Headers, Dana 60 Posi Traction Rear End, 8 Way Air Ride, 4 Wheel Disc brakes, Suicide Doors And more.
See, you know how!Another 16 hours to body fill,sand, and putty. Today my arms are ready to fall off. I use some high build primer surfacer from SEM. Ready to hit it with some 400 and spray it bronze. I absolutely love it. Hopefully nothing else out there like it.
View attachment 81712
View attachment 81713
View attachment 81714
View attachment 81715
View attachment 81716
View attachment 81717
View attachment 81718
I still play with mud. Just did some last week. Ambient temperatures make a difference in the amount of hardener also. You get used to the amount for summer temps and the next thing you know it cools off. Use what your used to and then you wait for an hour for it to setup.:bdance:

