Weekend Warrior Fifth Wheel Remodel

acefuture

Well-known member
Joined
Jun 8, 2021
Messages
298
Reaction score
501
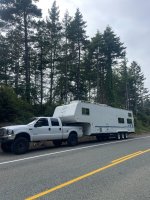
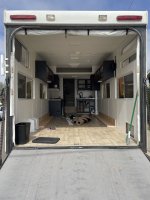
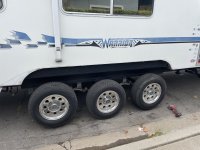
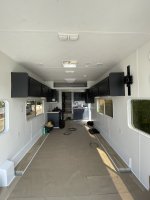
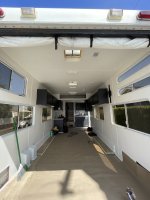
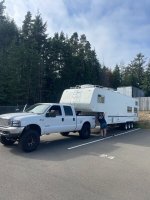
Bought this 03 SLC 3505 from a family friend recently. I got a great deal on it, only catch was I had to drive up to Coos Bay Oregon to pick it up. So did 42 hours of seat time and 2100 miles with a buddy and went and snagged it. He bought it off of another family friend who custom ordered it, so it has the layout we wanted. Full size bathroom and shower, with what I thought was enough garage space for the car (but it's not, so have to remove wheel wells). It was very well taken care of, never overloaded, and all maintenance done on time. Initially I thought I would just pull the bathroom carpet out, and use it for the season. But as soon as I got home, the lady decided we are doing a full remodel now. I should have known better. So it's getting the full treatment. I haven't found many writeups on remodels of these units, other than sporadic facebook group posts and a few unfinished threads elsewhere, so figured I use this as a place to post all my photos.

For this season it will get: New floors, complete paint throughout including walls, new hardware, new faucets, toilet, bidet (mandatory), tie down points, wheel well covers, preventative wall sag brackets and bracing, new upholstery, graphics delete, buff, ceramic coat. And eventually I will fix the minor delam on the front cap. Roof is rock solid, but i'll reseal it as well.

A couple weeks ago picking it up:
IMG_2703.JPG

IMG_2704.JPG

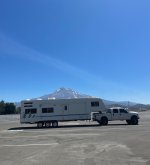
Hit the road over to the 5, up through Shasta:
IMG_2710.JPG

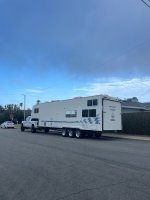
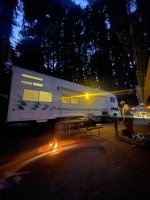
And landed in Santa Cruz to camp for a couple of nights which was awesome:
IMG_2717.JPG

And made it home in 2 days:

IMG_2734.JPG

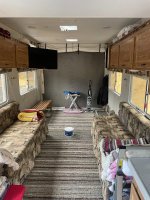
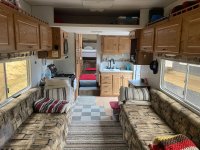
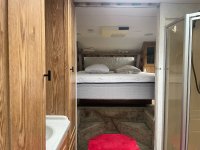
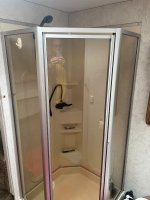
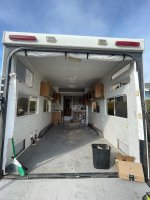
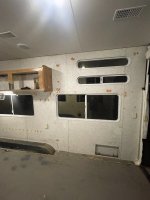
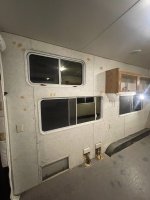
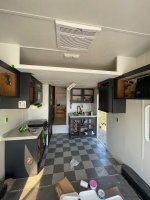
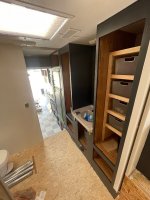
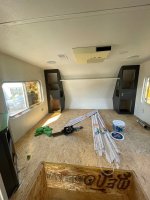
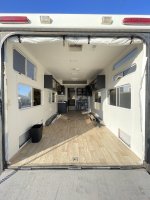
Some before interior photos:

IMG_1396.jpg

IMG_1397.jpg

IMG_1398.jpg

IMG_1405 2.jpg

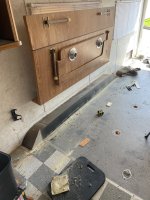
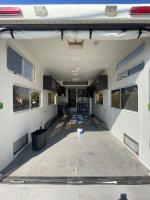
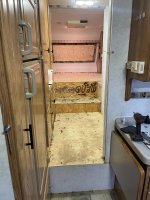
First order of business was gut it and pull the carpet out.
IMG_2767.JPG

'IMG_2772.JPG

IMG_2774.JPG

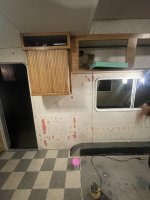
Next was patch all old holes, and there were a LOT
IMG_2796.JPG

IMG_2795.JPG

IMG_2797.JPG

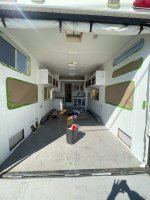
Taped off and laid the primer. Initially I planned on spraying, but once I started taping I realized it would take me 3x longer to tape everything correctly than it would be to just roll. 
IMG_2815.JPG

I laid my first coat of paint on the walls last night. Forgot to take photos. Will take some more after this weekends progress. Hopefully will be done by early october

 
Last edited by a moderator:
Awesome project, thanks for documenting & sharing. 

 
I remember you remodeled another toy hauler and it came out great. Looking forward to see what you guys do here.

 
I am really curious on the process of the cabinets and type of paint you used. Did you sand everything? I have a 2016 genesis starting to show some wear and I want to redo the cabinets. 

 
I am really curious on the process of the cabinets and type of paint you used. Did you sand everything? I have a 2016 genesis starting to show some wear and I want to redo the cabinets. 
Yep. Light sanded everything with 220. Primed with Kilz, and then topcoat with Behr Alkyd which is made for cabinets

 
Yep. Light sanded everything with 220. Primed with Kilz, and then topcoat with Behr Alkyd which is made for cabinets
Thank you looks like I am going to be busy here pretty soon. It should be cheaper to remodel than buy new lol. 

 
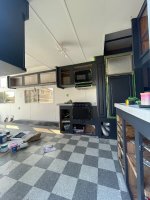
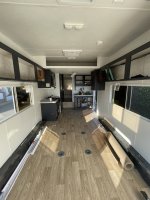
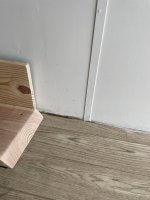
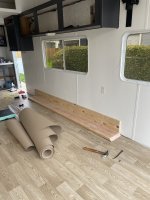
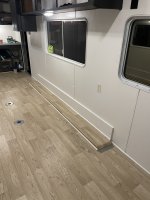
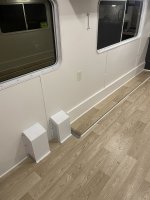
Got the majority of the floor laid over the weekend. Went with sheet vinyl. In hindsight I would have gone LVP if I did it again. The sheet isn't quite thick enough to cover up floor blemishes beneath, and even if I put a sponge pad below it, it wouldn't be perfect. But it does look great and really updates the look of the trailer. I need to go back and trim everything with quarter round on the floor/walls and 2" L bracket for stairs and corners. It definitely looks unfinished at the moment, but should look great once all trim is done.

IMG_2964.JPG
IMG_2966.JPG
 
Got the majority of the floor laid over the weekend. Went with sheet vinyl. In hindsight I would have gone LVP if I did it again. The sheet isn't quite thick enough to cover up floor blemishes beneath, and even if I put a sponge pad below it, it wouldn't be perfect. But it does look great and really updates the look of the trailer. I need to go back and trim everything with quarter round on the floor/walls and 2" L bracket for stairs and corners. It definitely looks unfinished at the moment, but should look great once all trim is done.

View attachment 120182
View attachment 120183
I don't see my rear bunk in this photo!
 
Couple updates.
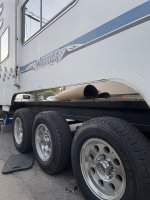
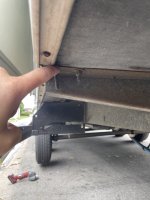
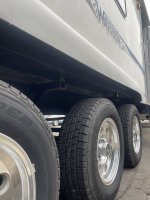
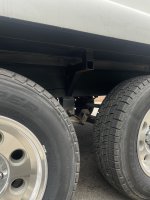
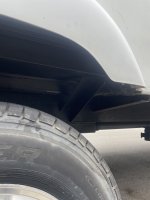
Knocked out the wheel well delete and wall sag preventative gussets in the wheel wells. Still need to run a few more tubes, but it's way stiffer now.

Cut out the old plastic wheel wells and left the lip to cover the sub floor:

IMG_3153.JPG

Jacked the trailer up and put it on jacks for 24 hours to let the axels droop out and straighten up before bolting in the 2x10s in. As you can see, there was about 1/4 - 1/2" that it straightened.

IMG_3177.JPG

Went with 2x10 bolted to the subfloor, and 1x10 bolted to the wall. The backside of them got rubber flooring material for waterproofing and sealed it all up with caulking:

IMG_3180.JPG
IMG_3183.JPG
IMG_3181.JPG


Once I welded in the gussets there is no wall sag whatsoever. The outriggers are nice and tight from front to back, cabinets are all squared up and the floor us much more solid. It's pretty wild how much wall play there is with the old wheel wells in place. I forgot to take daytime photos of the wheel well gussets. I will this weekend after I paint them.

IMG_3178.JPG

Covered the 2x10 with the floor material, and painted the 1x10 to match the wall. Very happy with the end result:

IMG_3188 2.JPG
IMG_3187 2.JPG

Hopefully will have the cabinet faces ready to bolt in this weekend. Then will move onto the roof for a deep clean and reseal
 
Was able to get quite a bit done this weekend. Welded in 2" L bracket to the added outriggers the entire length of the wheel well (8 feet) and added more outriggers to prop it up. This supports the entire wheel well and adds structure for the wall. It's rock solid now. Painted it all with steel-it incase I want to add anything later.

IMG_3233.JPG
IMG_3234.JPG
IMG_3235.JPG
IMG_3237.JPG


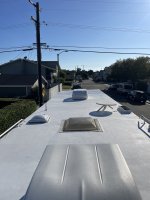
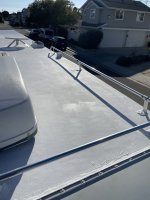
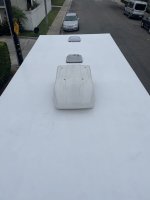
My dad swung by to bring by some roof materials he had left over from his recent roof redo and offered to jump up there and help me out. All old caulking was removed, deep clean, peeled back the roof material at the front cap and rear cap to clean it out, and then all new caulking laid out, and coated with dicor. Looks like a brand new roof. Still need to remount the vent covers.

IMG_3231.JPG
IMG_3230.JPG
IMG_3248.JPG


Spent a week painting the cabinet faces as well. They came out good. I was hoping for better out of the new HVLP gun I bought, but I'm happy with the result.

IMG_3240.JPG
IMG_3239.JPG

Now to start remounting everything. I'll finish caulking and painting the trim and then it's time to finish everything off. I drilled out and mounted the winch yesterday as well and need to build the box step to go over it and then wire it. Hopefully get pretty close to finished with the interior this weekend and move outside for graphics removal, buff and coat.
 
Coming along great! Love seeing people reviving older trailers. I feel like they just don’t make them the way they used to….
 
Back
Top