- Thread starter
- #21
Badbar88
Member
- May 7, 2021
- 65
- 49
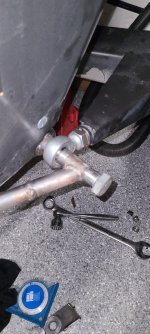
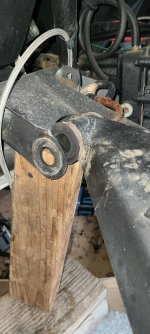
So I had no luck with minor adjustments, hogging out the mounts and adding weld washers. The arm needed to move up too far to get me what I needed. So I decided to cut off the old inner mounts and make up some new ones. I've tacked one side in place and cycled the trailing arm and all seems to me right where I want it. This also gave me the opportunity to set the toe where I want it. Previously I had to a lot of toe out in the rear and had to use a ratchet strap to pull the wheel forward and use the hiem joint on the outer mount to get things closer to correct. This always worried me because I assume this added uneeded stess to the inner mount.
Now I just need to bribe my welder buddy to come out here and lay some dimes. I'll add some gussets too.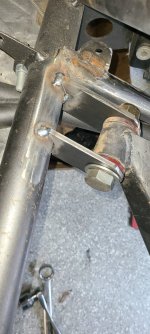
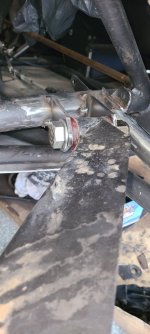
Now I just need to bribe my welder buddy to come out here and lay some dimes. I'll add some gussets too.


