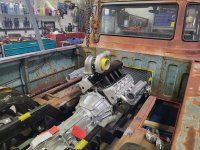
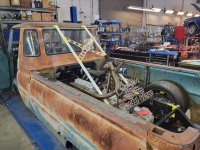
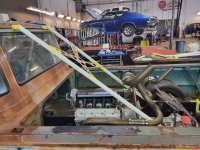
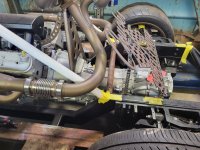
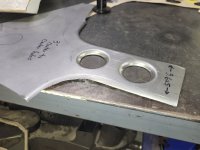
1964 Dodge A-100 Hot rod sort of rat rod build thread.

I am going to stop in at Turbos Direct in the morning and talk to Mike. 

 
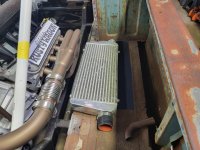
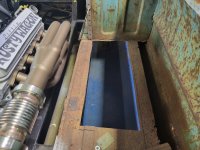
Possible simple solution. I was going to do two fuel tanks under the truck on each side where the openings are. If it goes in the back these will be open. Why not just lay an air to air IC  flat facing down on the right side where shown. Put expanded metal underneath for road debris protection. Seal it so it must draw all of the air from under the truck. Fan or fans/shroud blowing the air straight up. Both short runs from the turbo and throttle body. 

20230710_112922fgdbh.jpg

 
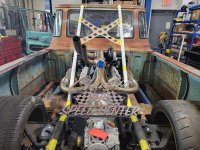
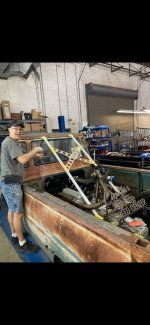
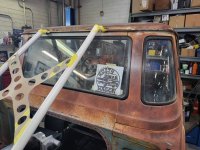
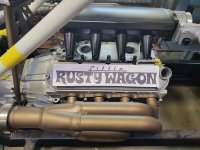
My brother came down to the shop today to hang out on my 60th birthday. Helped me redesign the cage. Bobalos we did look at your drawing with it being real low. Problem with that is it would not be an 11:50 certified cage. It has to be able to go up to the main hoop. So we simplified it and brought it inside the exhaust. Now I'm back to my little Confederate cross brace. It's not near as big or imposing. Plus the logo in the back, the turbo, all of that is much more easily visible and not blocked. So it is just a lot cleaner. I think this might be a final. I did talk to Bell intercoolers this morning and I'm going to have them build me a 20x11x3.5 intercooler. That opening in the truck is 28 by 11. So that'll work perfect. I will custom build a shroud and put a good puller fan to draw air through from under the truck. Problem solved. We did talk about a 24 instead of a 20 inch but he said it won't make a lot of difference and actually create a slight bit more pressure drop. I was just going to buy the core and build all the tanks ourselves here in the shop but I think I'm just going to have them build the entire intercooler. Make my life easy. Bro got a pic of me all excited explaining how I'm building this. I am 6 ft and you can see how low the roof line is when this thing is sitting with the air out of the bags. Ride height will only be a couple inches higher. Still not 100% sold on my cross brace with the holes and tubing and all that welding to put it together but I think I will go that direction. The time to do it does not bother me. I just want it to be right and the way I want it.

20230907_132918.jpg

20230907_132930.jpg

20230907_132936.jpg

20230907_133151.jpg

Screenshot_20230907_133436_Messages.jpg

20230907_135030.jpg

20230907_135033.jpg

20230907_132949.jpg

20230907_133005.jpg

 
Happy birthday!!!

And for the record.... 

image.png

 
Last edited by a moderator:
Should work unless I am missing something. I might ask if the inlet and outlet can be on the same edge vs across at an angle. Order without the tabs and do my own. 

Intercooler.jpg

Intercooler 2.jpg

 
 Periodically I stop and do a customer project. We are doing a full build on this Cutlass and The body shop did not want to do a dolly for it. So I bought one and modified it to fit. This car is a full build with an LS motor and the works. One of many we do around here.

20230908_142507.jpg

20230908_142515.jpg

20230908_142523.jpg

20230908_142533.jpg

 
Last edited by a moderator:
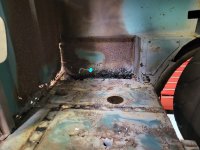
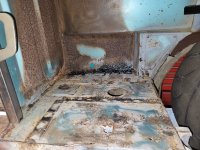
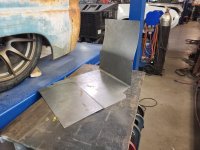
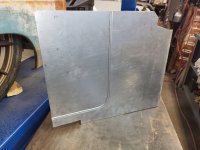
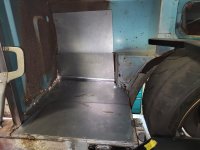
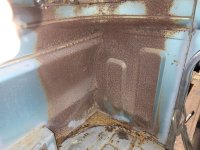
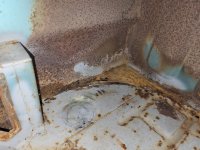
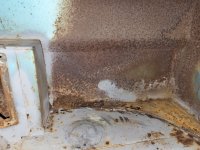
Phase one of cab corner rust repair. You could spend 100 hours in this corner if you tried to bring it back like original. So far this piece is made out of 18 gauge steel. First time I ever use the bead roller or the slip roller. I had to do a double step to get the depth to go over the different height in the floor. Couple more pieces to weld on to this piece. It won't be pretty but it will be effective. Never going to see it anyway.

20230911_112458.jpg

20230911_112504.jpg

20230911_120634.jpg

20230911_120645.jpg

20230911_120946.jpg

 
Last edited by a moderator:
Apparently painting an intercooler affects performance. He is going to give me a price to anodize it black like this. And the final design. 

IMG_4952 (1).JPG

IMG_4953 (1).JPG

Intercooler 11.png

 
Pulled that little plate off and found some more nastiness. Made a piece for the corner which will get welded and then seam sealed. First time I ever used the shrinker stretcher. Pretty cool little dude

20230913_095330.jpg

20230913_115758.jpg

20230913_115817.jpg

20230913_115838.jpg

20230913_120212.jpg

 
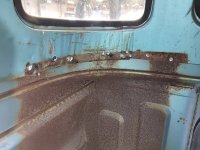
Finally removed the panel from the right rear corner. Some cancer but not near as bad as the left side. Need to get a game plan how I want to tackle this corner. I think I'm going to leave these corners open and just tie off of the roll cage into the upper corner where the rivets got drilled out. Make a curved bracket and weld in some gussets.

20230913_135034.jpg

20230913_134954.jpg

20230913_135000.jpg

20230913_135007.jpg

20230913_135100.jpg


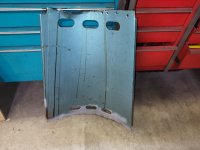
Blurry the first 10 seconds and then it gets clear. 17 pieces of tubing to be cut the exact same length. Then some strips and a ton of welding. I made a sample piece before having these cut. Wanted to make sure the radius edge dies could bend the inside circle on the bead roller. Only 18 gauge so this may hurt my certified cage. It will still be strong. This piece is going to be neat.

20230912_115322.jpg

 
Last edited by a moderator:
Well this first portion was more work than I thought it would be. Finally figured out how to use those radius edge dies. Tricky20230914_121042.jpg

 
Last edited by a moderator:
Sometimes you ask yourself why you would even attempt to do a certain thing

20230915_110454.jpg

20230915_112245.jpg

20230916_154806.jpg

 
Because you can! And probable not many others can!
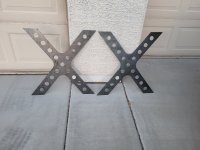
lol, Two days work on this between other stuff. Probably two more days. Need to replace one of the techs in our shop and interviewed a guy for 90 minutes today. BTW Those are valve seats for heads. Perfect spacers vs cutting pieces of tubing. 

 
Completely disgusted with a first attempt at building this cross brace. My buddy happened to be in the shop today and I got him to cut me out some new pieces. 14 gauge instead of 18 gauge this time. I have a whole different design in mind for this to make it look a lot nicer. Sometimes you go backward before forward.

20230917_182623.jpg

 
Back
Top