Solar system install

L.R.S.

Well-known member
Joined
May 5, 2021
Messages
1,672
Reaction score
2,369
I'm a huge fan of solar for RV's and have a system on my coach, flatbed and enclosed trailers.  All have worked very well and keep my batteries charged up when the trailers are in storage or the RV is in the dunes.  I did a lot of research on iRV2.com and various other forums and then saw @socaldmax thread here offering a few different sized systems.  Once I called Steve I realized I could have saved myself a lot of time by telling him what I had (battery specs) and what I expected (hell if I knew) and letting him figure out what I needed and then buy it all from him.  So, that's what I did.

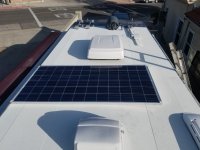
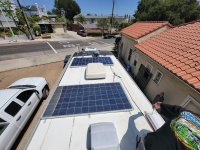
Steve sold me a single 320watt panel and a MPPT solar controller.  His kit came with everything, including the wiring, mounting brackets and screws, lap sealant and printed directions.  Super easy. 
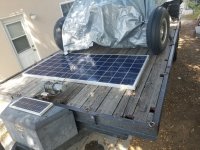
20190624_102627.jpg

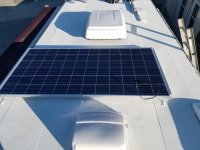
20180304_160154.jpg

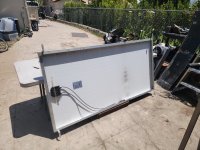
I took measurements to see where it would fit bet on the roof but then decided to just haul it up there and make sure it would fit.
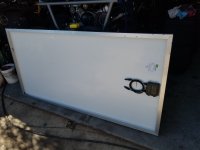
20180304_140756.jpg

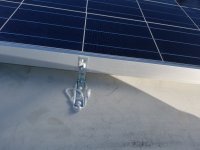
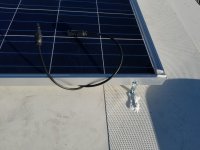
Next was drilling the holes for the mounting brackets which are off the shelf predrilled angle brackets.  Steve's instruction were very specific as to where they needed to be mounted to properly support the panel, and keep it from getting torn off my roof at 75mph.
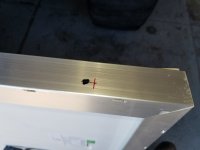
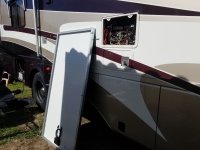
20180304_140801.jpg

20180304_141620.jpg

I got all 6 brackets mounted and hauled the panel back up to the roof.  That's when I realized my mistake- the roof isn't flat so the center mounts were now a pivot point.
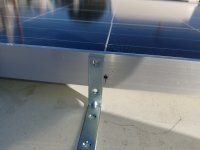
20180304_161131.jpg

It was easier to leave the panel on the roof and re-drill the angle brackets in the shop.
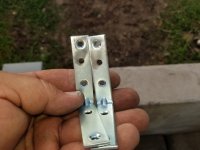
20180304_162325.jpg

Now for the scary part- drilling 2" long screws directly into my roof...

 
I wasn't super confident about the screws into the roof part but how else was it going to be held down.  I know there's electrical running in the ceiling but it's also like 6" thick so what are the chances I'll hit any wiring...

20180304_163840.jpg

20180304_162849.jpg

Two screws per bracket, six brackets- so now I have twelve holes in my roof that aren't supposed to be there.  Hope the lap sealant works.  I put lap sealant under the bracket then screwed it down.  Not sure if this was recommended by Steve, a YouTube video or I thought of it on my own. 

20180304_163846.jpg

Then I added a little lap sealant over the screw heads.

 
Seemed like the hardest part was over.  I checked all my ceiling lights and the AC and they worked so I guess I didn't hit any wiring.

20180304_120636.jpg

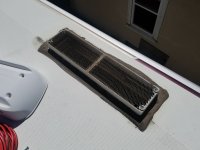
Per Steve's instructions I pulled the vent cover for the fridge off and could see all the way down to the exterior fridge access panel.  I cut a corner of the mesh to run the wires.  

20180304_120639.jpg

No pic but I did leave a ~6" service loop of wiring above the mesh (also in Steve's instructions).

20180304_121413.jpg

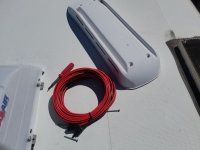
Steve's kit comes with a lot of #6 wire.

20180304_121328.jpg

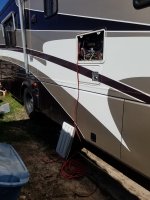
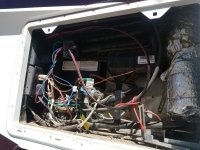
I did another service loop (I tied it up nicely) in the fridge access panel area.  

20180304_122833.jpg

Can't see it but I drilled a 1/2" hole under the fridge plug to route the wires to the cabinet below.

 
20180304_124359.jpg

Nice and neat.

20180304_124115.jpg

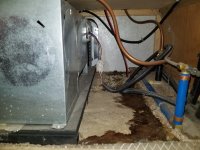
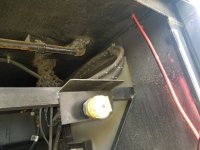
The exterior panel hole I drilled goes into the interior panel access under the fridge.  Also where the return ducting for the heater is located.  Still don't know why RV builders thought the heater under the fridge was a good idea?

20180304_121413.jpg

This is where I had to guess- how to get the wire to the exterior of the coach and back to the battery cabinet.  Looking outside there are two storage compartment doors that meet right at the edge of the fridge access door.  I took measurements but still wasn't sure where to drill the hole inside so the wires would drop out into the cabinet just forward of the rear tires (follow all that?).  If the wires dropped into the other storage cabinet I'd have to drill sideways.  Not a huge deal, just more drilling and hoping I'm not hitting any hidden wiring, or now plumbing.  

20180304_124200.jpg

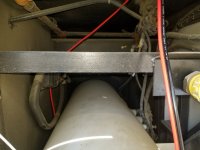
I decided to drill close to the propane line coming up from the floor.  It worked and the hole was about an inch off the wall in the propane tank compartment.  This would make for easy access to the electrical cabinet behind aft of the wheels.

20180304_124627.jpg

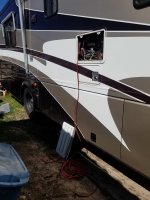
I routed the wires through the propane tank area nd to the frame rails (tied up neatly).

20180304_130630.jpg

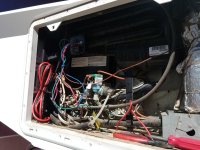
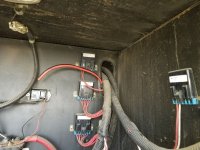
The wires were now in the electrical cabinet.  

 
20180304_133522.jpg

20180308_171407.jpg

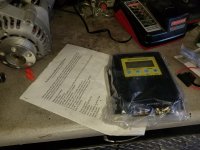
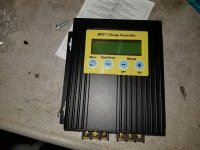
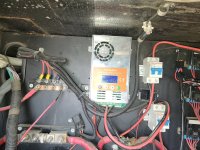
MPPT solar charge controller provided in Steve's kit.

image_5697.jpg

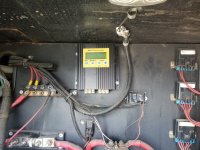
Found a good spot for it on the wall in the battery compartment. 

image_5698.jpg 

image_5699.jpg

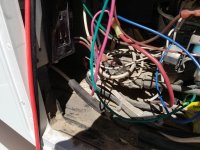
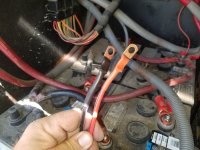
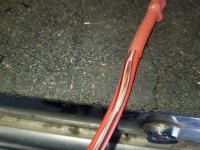
Made up the final wire connections and my wife or son spotted an issue I didn't even see.

image_5700.jpg

Wire insulation split.  Glad we caught it now.  I checked all the wiring for any more splitting and didn't find any.

image_5901.jpg

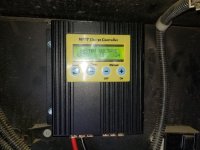
I followed the MPPT controller instructions on programming for my AGM batteries, full charge, float charge, etc. and let it start doing it's thing.  The next day I checked and the batteries were fully charged.

I'm really happy with this solar system, the easy installation and programming.  I did this project in March 2018 and ran it for a full two season before my AGM batteries were junk.  They were pretty old and installed by the RV's previous owner.  I replaced them with Costco golf cart batteries and reprogrammed the MPPT to wet cell type.  Two years on those batteries and I decided to double my solar.  I called Steve and he had one more panel to match my existing 320watt.  But to use it I'd need a larger MPPT controller and breakers.  I told Steve to tell me what I needed and I'd buy it from him.

 
I'm sure you will be fine with lap sealant underneath your bracket then over the top and screws like you did. I have had better luck using butyl tape under the bracket then covering the bracket and screws with the self-leveling lap sealant. 

 
I'm sure you will be fine with lap sealant underneath your bracket then over the top and screws like you did. I have had better luck using butyl tape under the bracket then covering the bracket and screws with the self-leveling lap sealant. 
Never thought about butyl tape, good idea.

20210527_142316.jpg

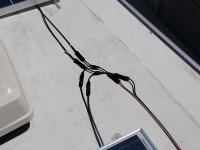
Along with the new panel I also bought parallel connectors from Steve. Got lucky and the panels are close enough to plug into each other. Made the install super easy! Really glad Steve's instructions said to leave extra cable for a service loop. I was able to pull enough wire from the fridge access panel and didn't have to do any splicing at all.

20210527_142329.jpg

 
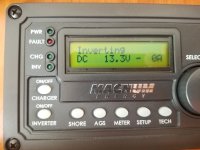
My original MPPT controller was undersized for a system this large so Syeve sold me a new larger MPPT and added breakers. 

20210527_142711.jpg

The first breaker is in between the panel and the MPPT controller and the other is in between the controller and the batteries. 

Now I have 640 watts of solar! Really happy with the system.

 
Did you do Lithium Batteries?
I didn't. I'd like to but not in the budget right now. I have four Costco 6v batteries right now.  When I'm ready to upgrade to the LiPo4 batteirs I'll call Steve because he keeps up on the lastest tech and best deals on that stuff. 

 
I didn't. I'd like to but not in the budget right now. I have four Costco 6v batteries right now.  When I'm ready to upgrade to the LiPo4 batteries I'll call Steve because he keeps up on the latest tech and best deals on that stuff. 
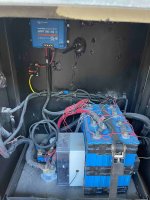
Steve and I put a setup on my new to me Warrior. Two big panels and two big lithium batteries that he had. Had to devise a heater system since the batteries will die if the temp drops too low and the system tries to charge them. Satisfied with the install. Doesn't have the juice that my old setup with 6-6v Costco batteries had but it's a smaller footprint and don't  have to water the batteries all the time.

 
Once you switch over to LifePo4 you will really love that solar.  Its like going from a VW NA engine to a LS3 with a Whipple.  You will be pissed you didn't do it years ago.

 
Once you switch over to LifePo4 you will really love that solar.  Its like going from a VW NA engine to a LS3 with a Whipple.  You will be pissed you didn't do it years ago.
What about @SuperHunky saying he needed a heater for the LiPo4 batteries? I store my RV in Glamis from October to March and it can get cold out there. Haven't read anything about making sure the batteries stay above a certain temp. Did you do a heater for yours? 

 
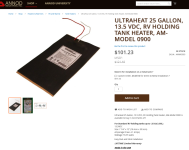
Maybe Steve will chime in..Some of the newest batteries have built in thermal protection but the ones I got will die if you charge them when too cold. I used this heating pad and set the two batteries centered on it. Also got some closed cell foam wrap insulation from amazon and wrapped the batteries horizontally around both together. It got cold a few times this winter at my storage in Holtville and the setup worked fine.

515qjnqx30L._AC_.jpg


image.png

 
What about @SuperHunky saying he needed a heater for the LiPo4 batteries? I store my RV in Glamis from October to March and it can get cold out there. Haven't read anything about making sure the batteries stay above a certain temp. Did you do a heater for yours? 
This only applies to charging if its below freezing (32F or lower).  You can discharge them all you want.  My solar charger has a temp probe on it so it wont start charging unless it sees 32F of higher.   I have only seen it actually get my bays cold enough for that once in 6 years with Lifepo4 in Glamis.  I think it took all of 30-45 mins once the sun was up to actually warm up over that anyways.  If the cold is a concern Steve has options for you, but the simplest is to just know you cant charge if your battery temp is under 32F.

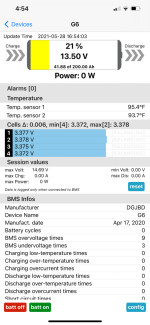
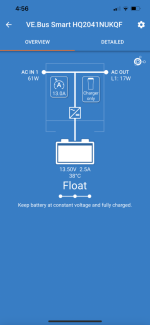
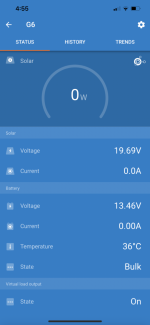
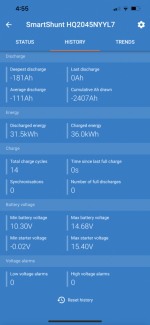
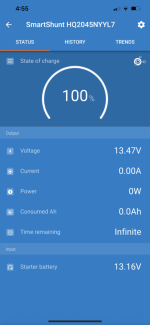
This is my current setup.

200ah 4 cell pack with a BMS controlling a large sealed relay that will cut out if anything goes crazy.  Its all bluetooth.  My coach is in my covered area right now so the solar isn't doing anything.

This pack is now 3 years old.  

IMG_4050.jpg

IMG_4051.PNG

IMG_4055.PNG

IMG_4054.PNG

IMG_4053.PNG

IMG_4052.PNG

 
Back
Top